We created our logo for our blog in Photoshop. In page setup we clicked on the A3
Canvas Size and then rotated the page. We clicked on the new layer icon and create a new layer which we filled all in black. We then create another new layer and picked the brush tool. On the top of the page we clicked on the drop down list and then clicked on the right hand arrow then clicked on the load brushes. We loaded our brushes from Media Share-Media Studies Mr Lau then from the folder Brushes we had a choice of four different style brushes to pick from. When we picked the style brushes we wanted we loaded it to Photoshop. We increased the size of the brushes to 1000. We then duplicated the layer and went to colourise/Hue and Saturation and we were able to change the colour of our brushes.

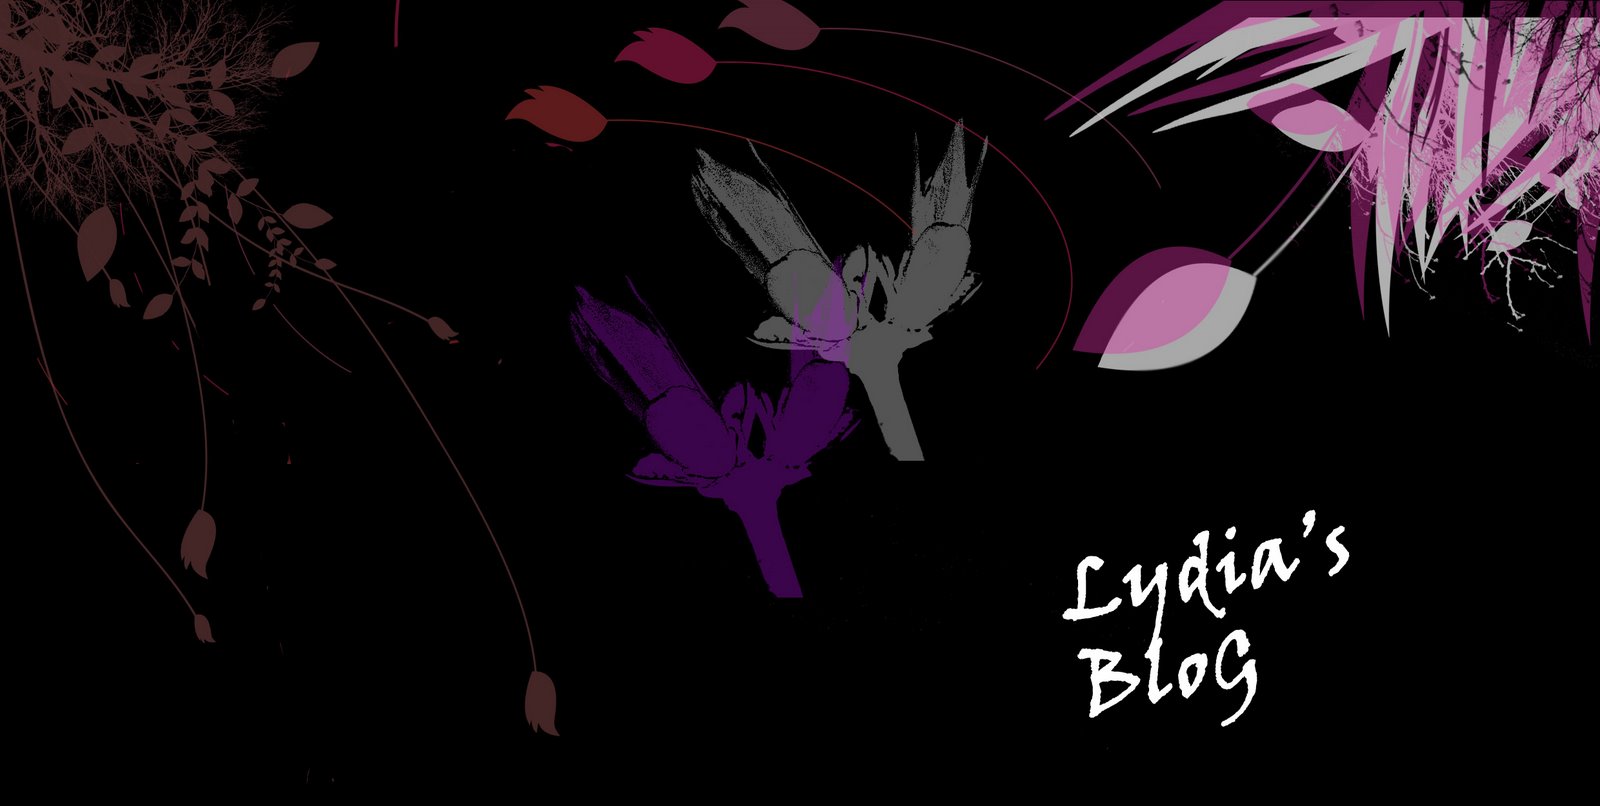
As we finished our Logo, we then had to create a Banner for our blog. We also created done that in Photoshop. The Banner had to be in the same concept with our Logo. First we clicked on the New Layer icon and created a new layer, and then we filled it all in black. After we had loaded the brushes from Mr Lau’s Media Studies folder as we done before when we created our Logo for our blog, we used the brushes to create the banner, similar to the concept of the logo we created before. We were able to change the colour of our brush by clicking on the Hue and Saturation icon and then by clicking on the hue. As we only used the top of the page we cropped the rest of it off.

No comments:
Post a Comment